Fan Test Lab part 2 – Construction and Fan Installation

We gutted an old shipping office to use as the structure of our new test lab. The biggest challenge was making it as airtight as possible (the testing standard does allow for a minimal amount of leakage).

A S&P CM Series Belt Driven Blower about to be installed.This giant fan provides incoming air and is capable of 500 to 8,000 CFM. We are also able to install a smaller less powerful fan to provide incoming air for fans that move less than 500 CFM.

Check back soon for more photos

Fan Test Lab part 1 – Out With the Old, In With the New

A little while ago we began to revamp and rebuild our fan test lab to make it bigger, better, and easier to use. We thought it would be fun to share some of the pictures of the construction of this new test facility.

A little background: We test all of our units to ensure that when we say it is 1710 CFM and 157 watts, that it is actually 1710 CFM and 157 watts. All of our Whole House Fans (WHF) are tested as you would install them in your home. Often the other guys will just test the fan itself and “forget” to test their WHF as a system (damper box, fan, duct, and grille). This kind of testing leads to misleading results, specifically greater CFM and lower watts than when installed as a system.

The old: This facility used a traverse method of testing airflow. We used a calibrated and certified hot wire anemometer to test air velocity. Soon after this picture was taken we straightened the silver tube, as we found the two bends were causing pressure waves affecting the testing.

Testing: A 1.7 WHF about to be tested as installed in the attic. We used a multimeter and a power meter, both calibrated and certified, to measure volts and watts.

The new: The new and improved test lab under construction at our warehouse in Medford, OR. Check back soon for more pictures of the construction process.

AirScape hits the road with the CCSE

AirScape is proud to be a sponsor of the California Center for Sustainable Energy’s Residential Energy Roadshow. An AirScape 1.7 Whole House Fan has hitched a ride on the trailer and is on display, along with several other sustainable technologies to help homeowners save on utility bills and reduce energy consumption. Among them is a heat-recovery ventilation system, available through our sister-company HVACQuick.com (…which if you haven’t checked out, you probably should).

As they put it on their website: “The mobile program is designed to educate and inspire Southern Californians to learn about and implement energy-saving practices in home efficiency, solar technologies and alternative-fuel transportation… CCSE will take the exhibit to community events throughout San Diego, Riverside and San Bernardino counties.” (link)

We at AirScape love saving energy, and we are thrilled to see this type of education effort taking place. Even if the show won’t be in your area, be sure to do your part to learn and help spread the word about how new green technologies can help save money, relieve the power grid, and help the environment.


A DIY Experience

CLICK ON PICTURES TO ENLARGE

This is some candid feedback we recently received from a scrupulous customer who purchased and installed a 4.4e in his own home. He did all the necessary research, asked all the good questions, and was very careful with his purchase. That said, in the end he is quite happy with his fan. While other companies might cringe at the thought of inviting feedback from very particular customers, we encouraged it and we are happy he gave us permission to make it public here in our blog. This is just an example of one customer’s experience with us – from specification to follow-up – and stands as a reflection of the quality advice, support, and products that AirScape provides. When you call us you won’t speak to someone on commission, because our first priority is to recommend the best, most effective solution for your needs. We look forward to speaking with you!

And by the way, he called us after he had slept with it running, and his wife (the deciding factor) could not hear the fan at all. Another AirScape Win!


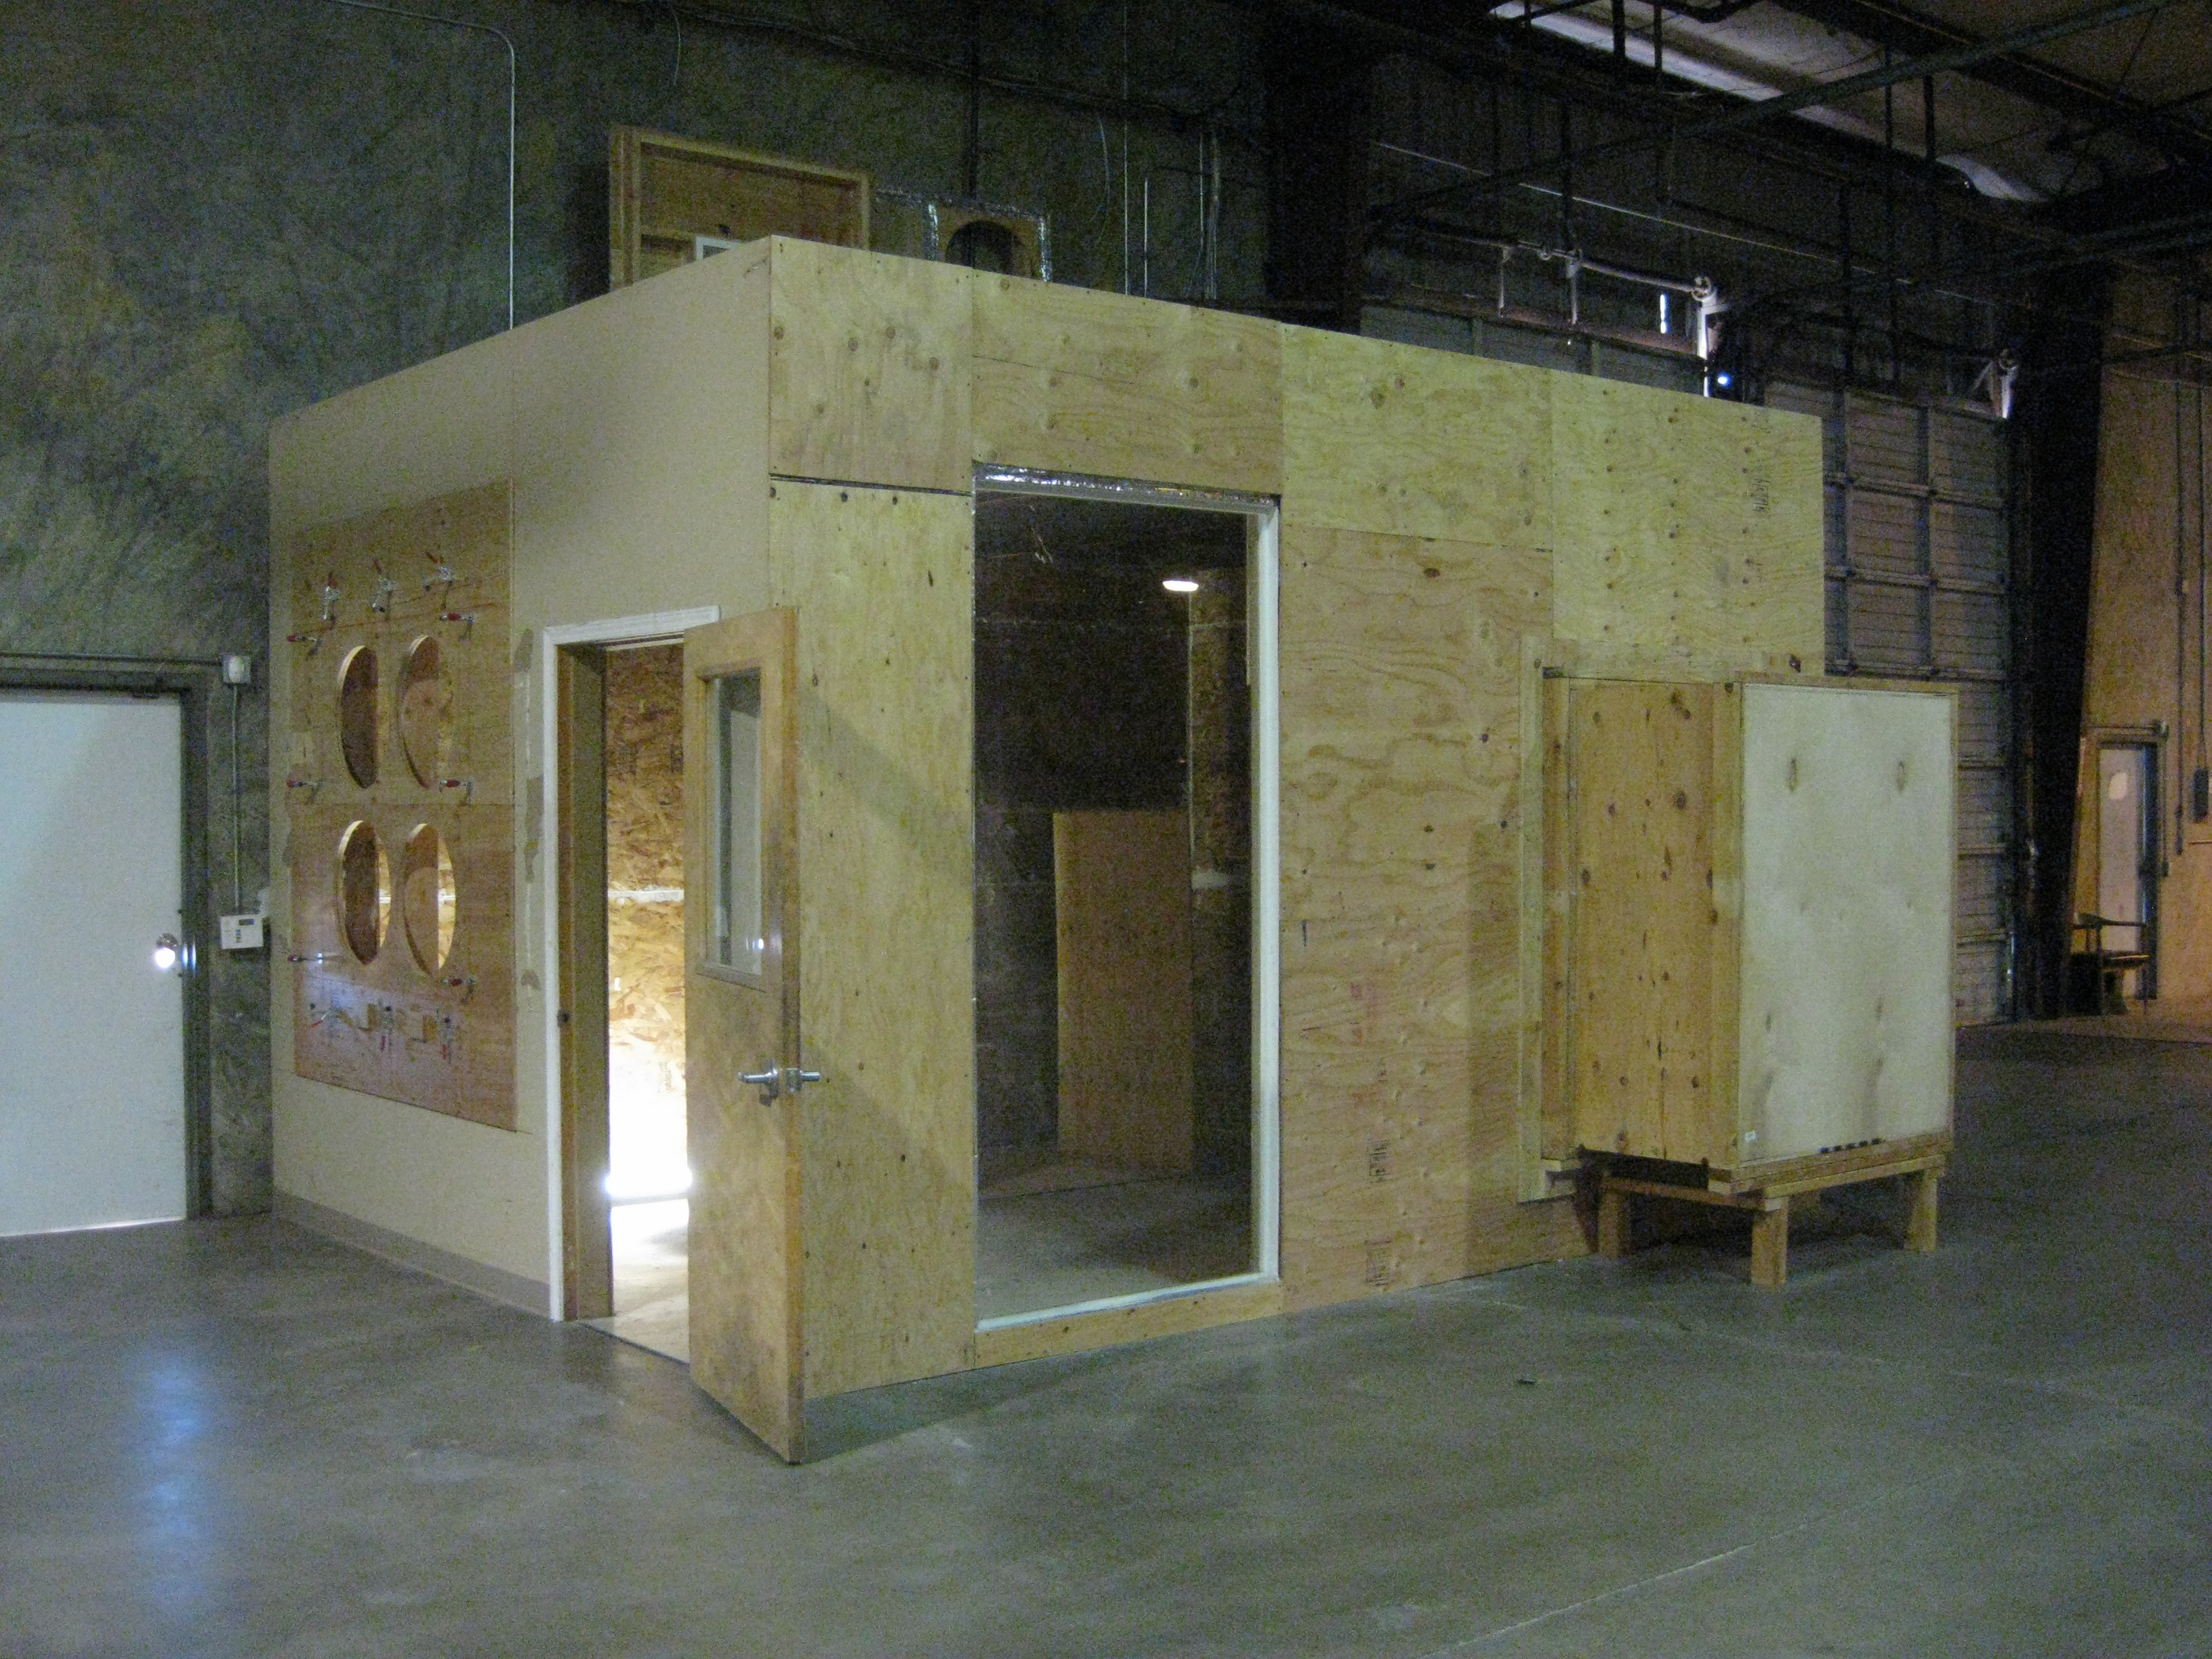
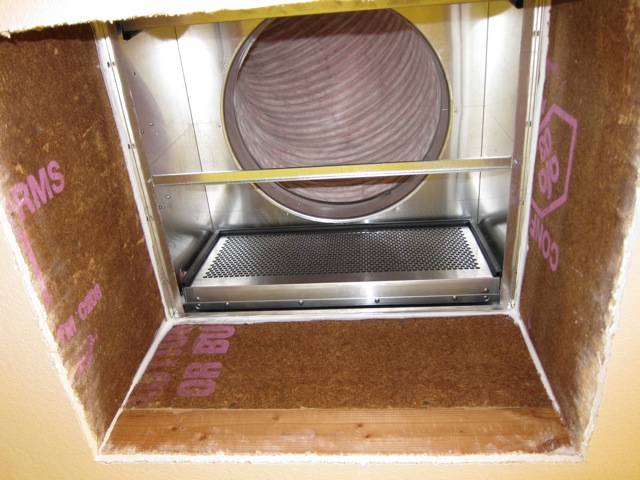
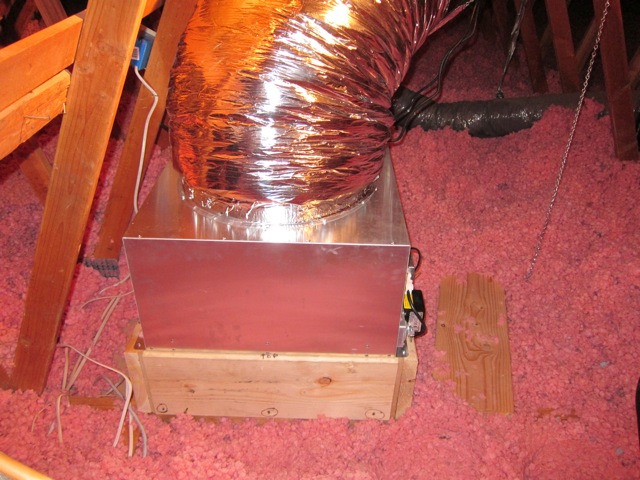
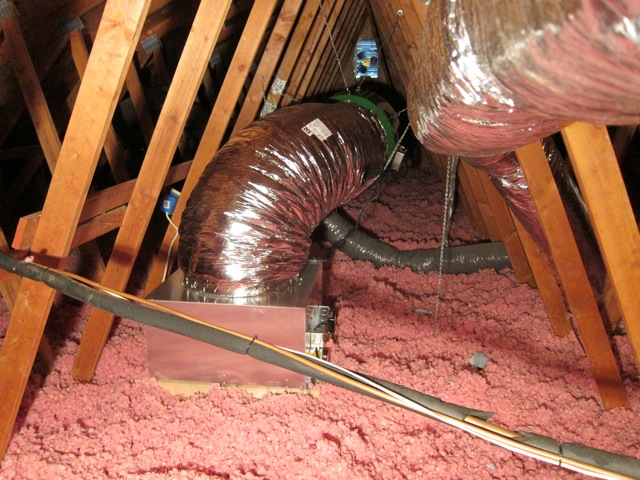
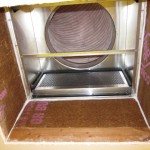
Hi guys, everything is installed and I attached some pictures. I used some 2×10’s to raise the box so I can eventually insulate more. Everything worked as discussed and the unit is very quiet compared to my old one. Haven’t tried to sleep with it though. You can’t tell it’s even running while watching tv and fan on low. HUGE, HUGE improvement. My wife kept asking me if it was running……success!

I felt everything was well built and nicely thought out. The parts fit together flawlessly and I’m impressed with the quality. Good job! As requested, here is some comments and constructive criticism…

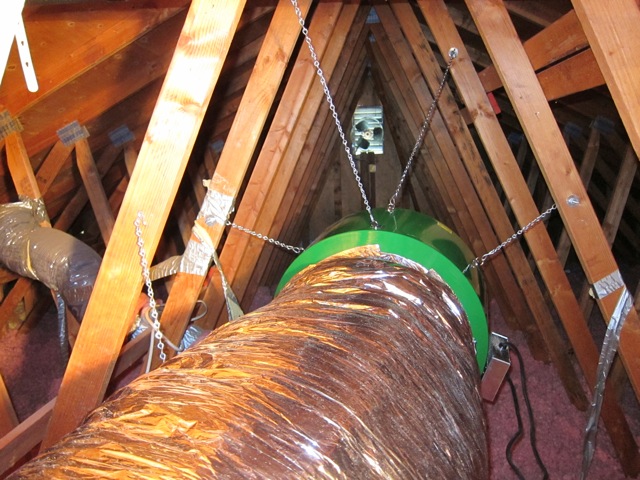
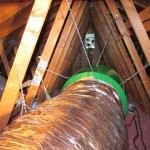
1. Since I had a drill in the attic anyway, I drilled the rivet heads off the D rings not used and removed them…no noise possible and takes seconds per D ring (less time than taping)

2. I would throw in some extra screws and hardware. If you drop anything in blown in insulation it goes into never never land. It only cost 25 cents to add a few extra.

3. Don’t crimp the S rings on the eye bolts. Depending on the location, it was easier to shorten or lengthen the chain there and easier to unhook it off the eye bolt than the fan. Working by yourself, it’s easier to hook the eyebolt than hook the chain.

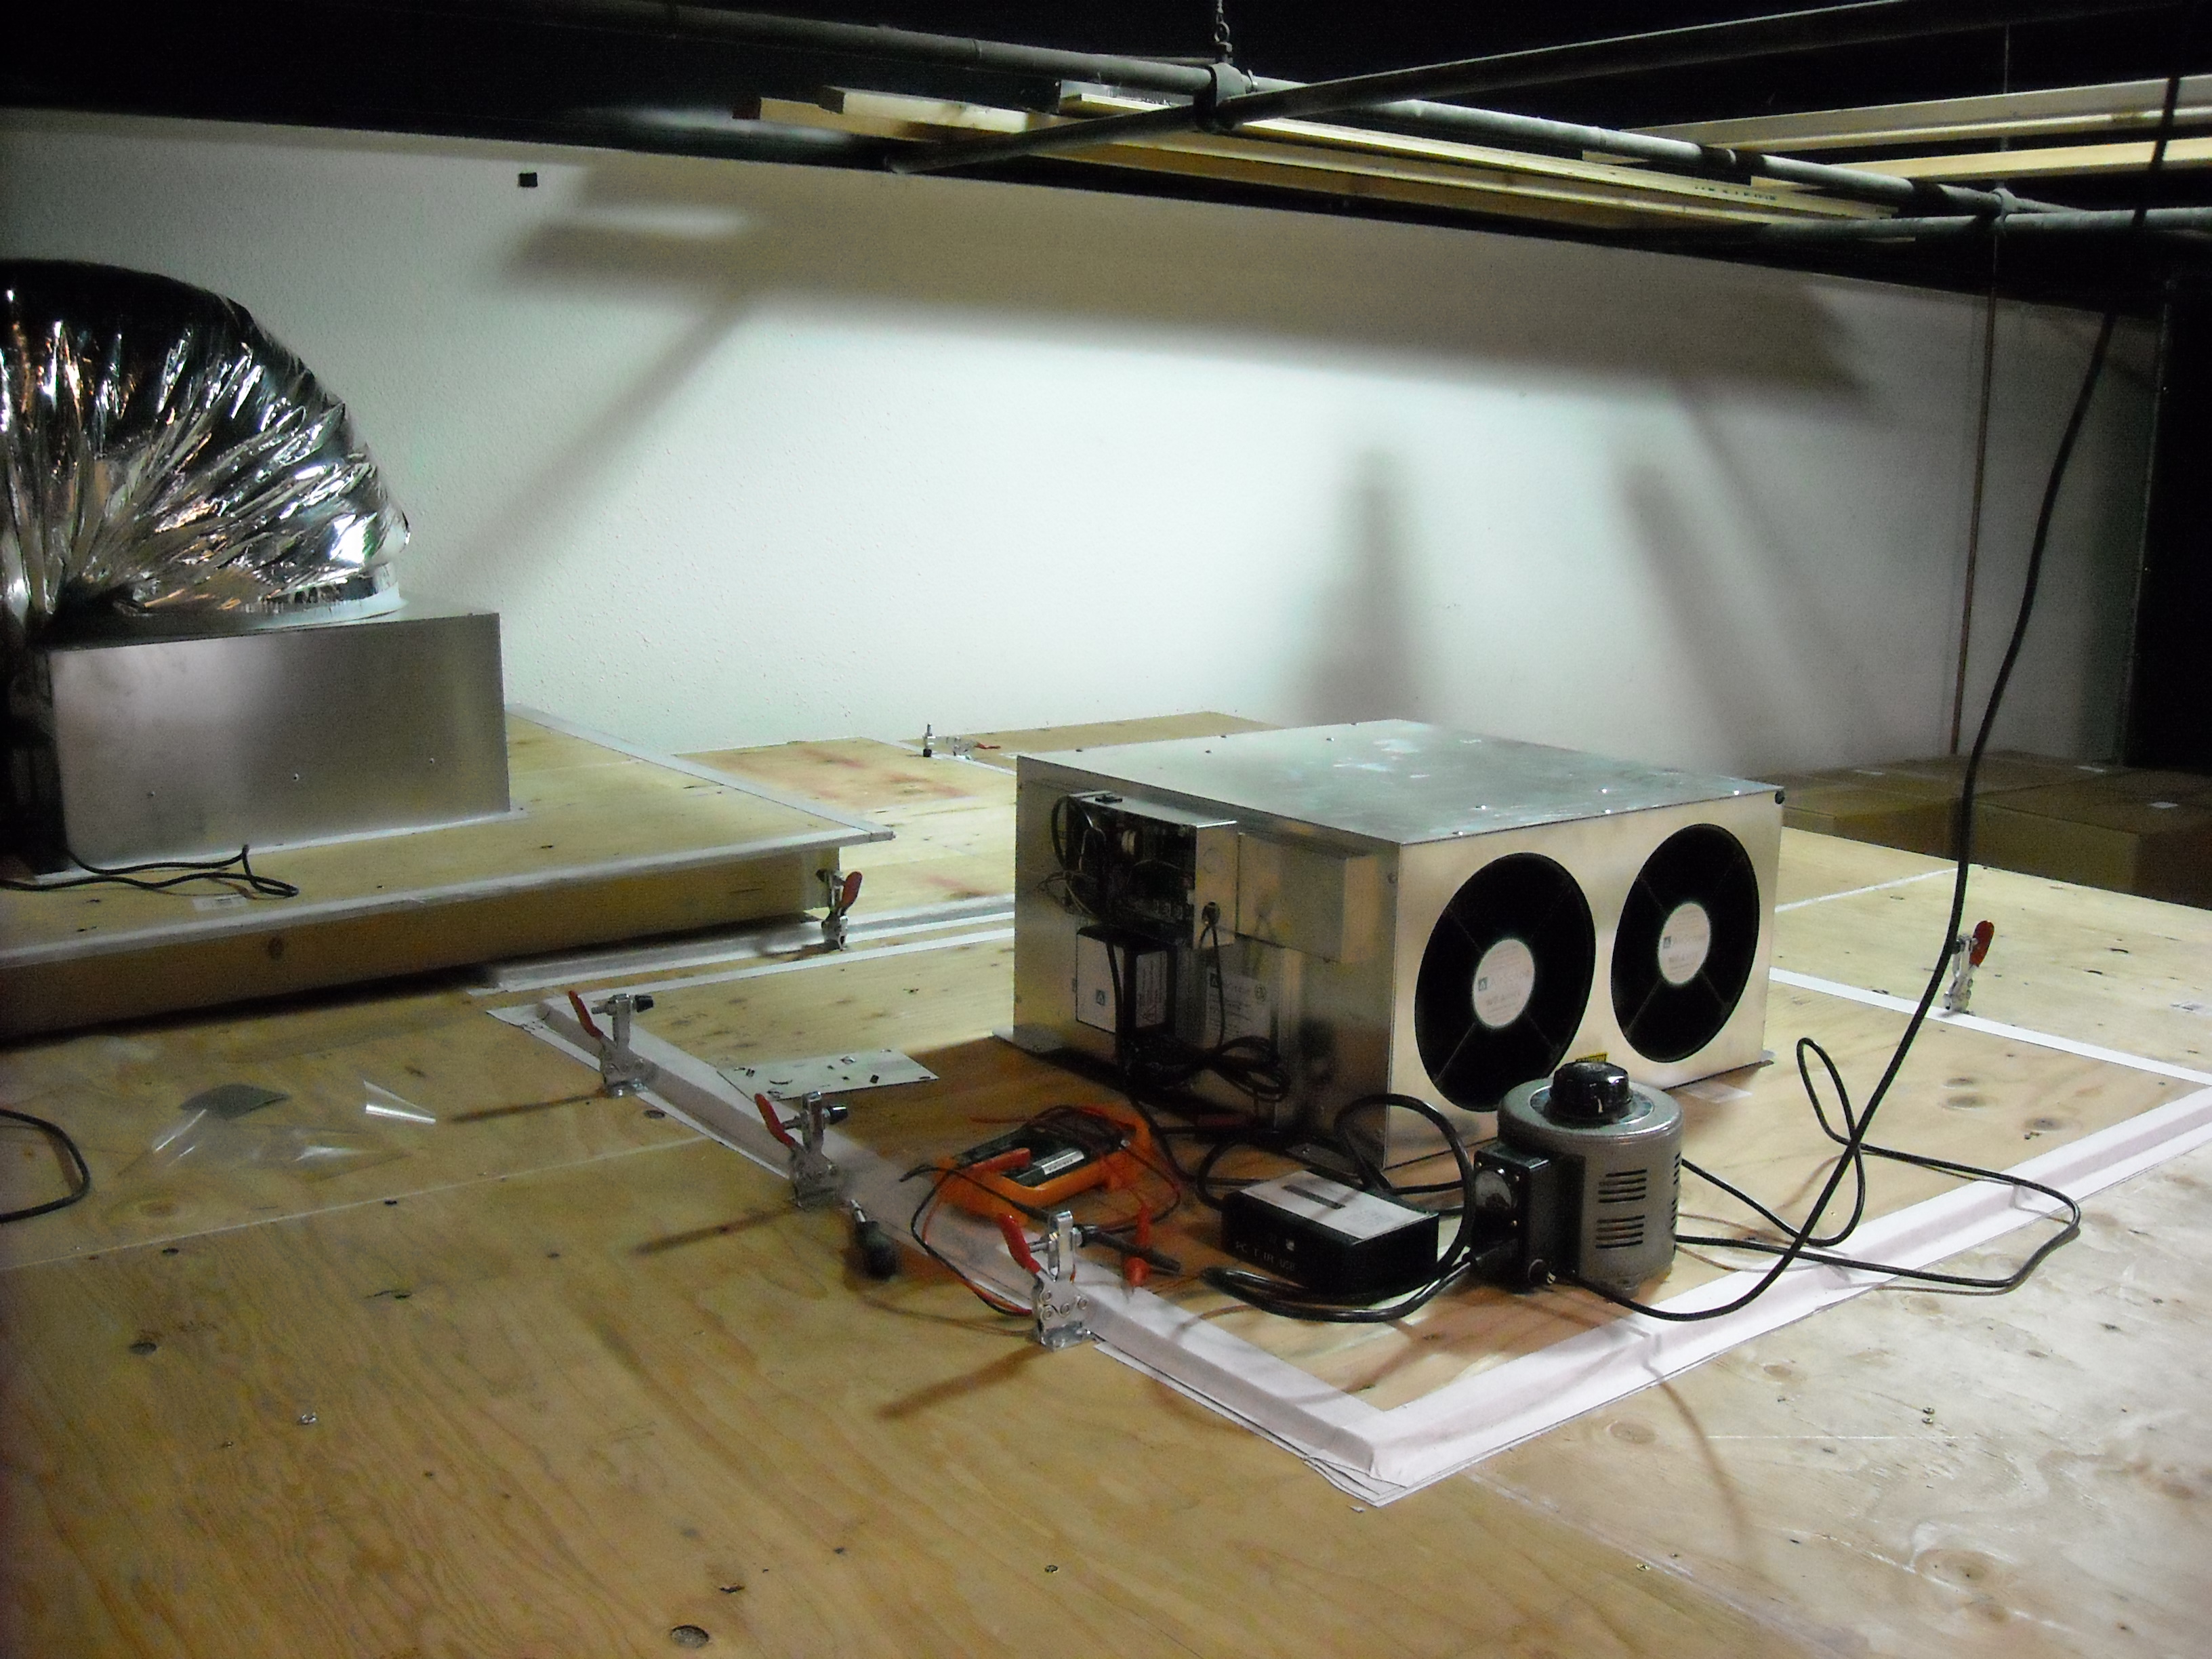
4. Drill a small hole in the electrical box of the damper box and install a grommet or bushing for the control wire. I did so and simply pushed the wire inside and tied a loose knot so it couldn’t come out. The knockout is simply too big for this.

5. I’m sure many people like me want a timer but your cover plate is for a single gang box. Perhaps just make some labels for the cover instead of printing? Your plate is really nice but useless for my installation.

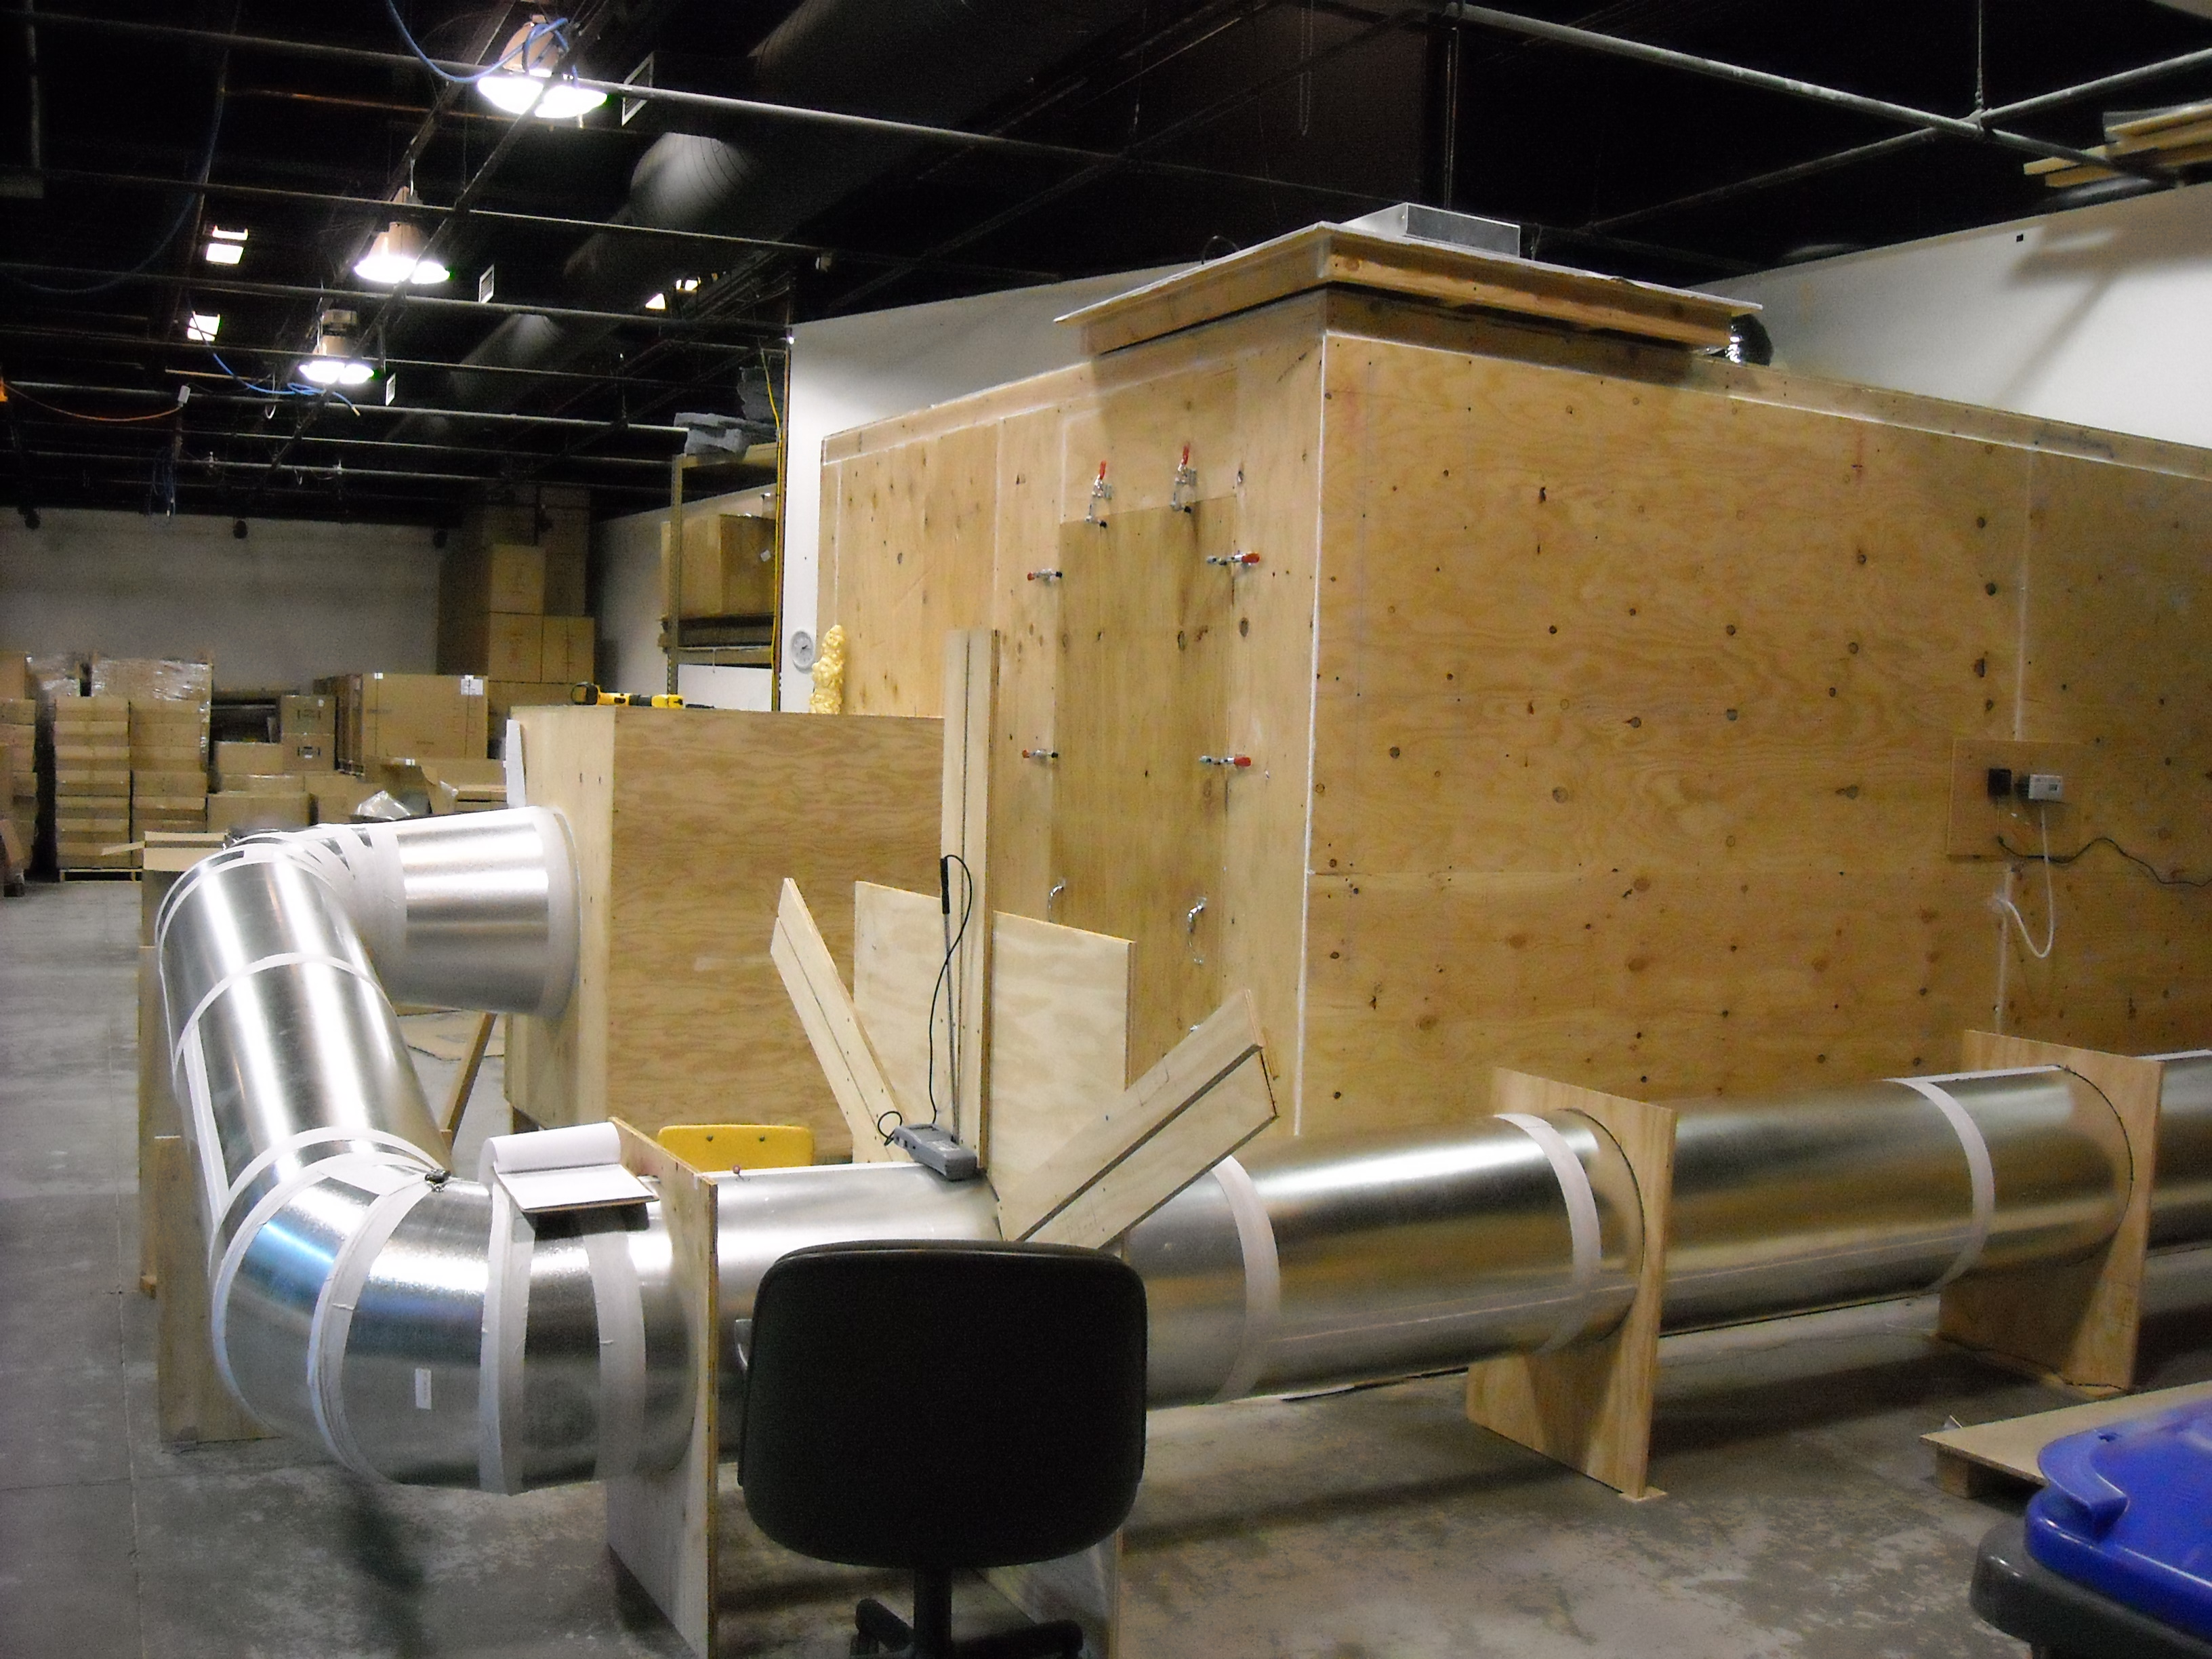
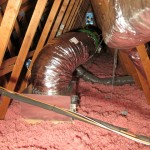
6. I used the extra chain to support the duct. I used a 1/16 x 4″ x 24″ piece of ABS plastic between the chain and duct to spread the load and used the extra duct tape to keep the plastic bonded to the chain.

7. I found figure 7 a little confusing when I looked at the 45″ height since I could’t tell if you meant the top or bottom of the joist. A little math figured it out but I was hot and sweaty by then and normal patience was low. Perhaps a full side view and another looking straight at the fan?

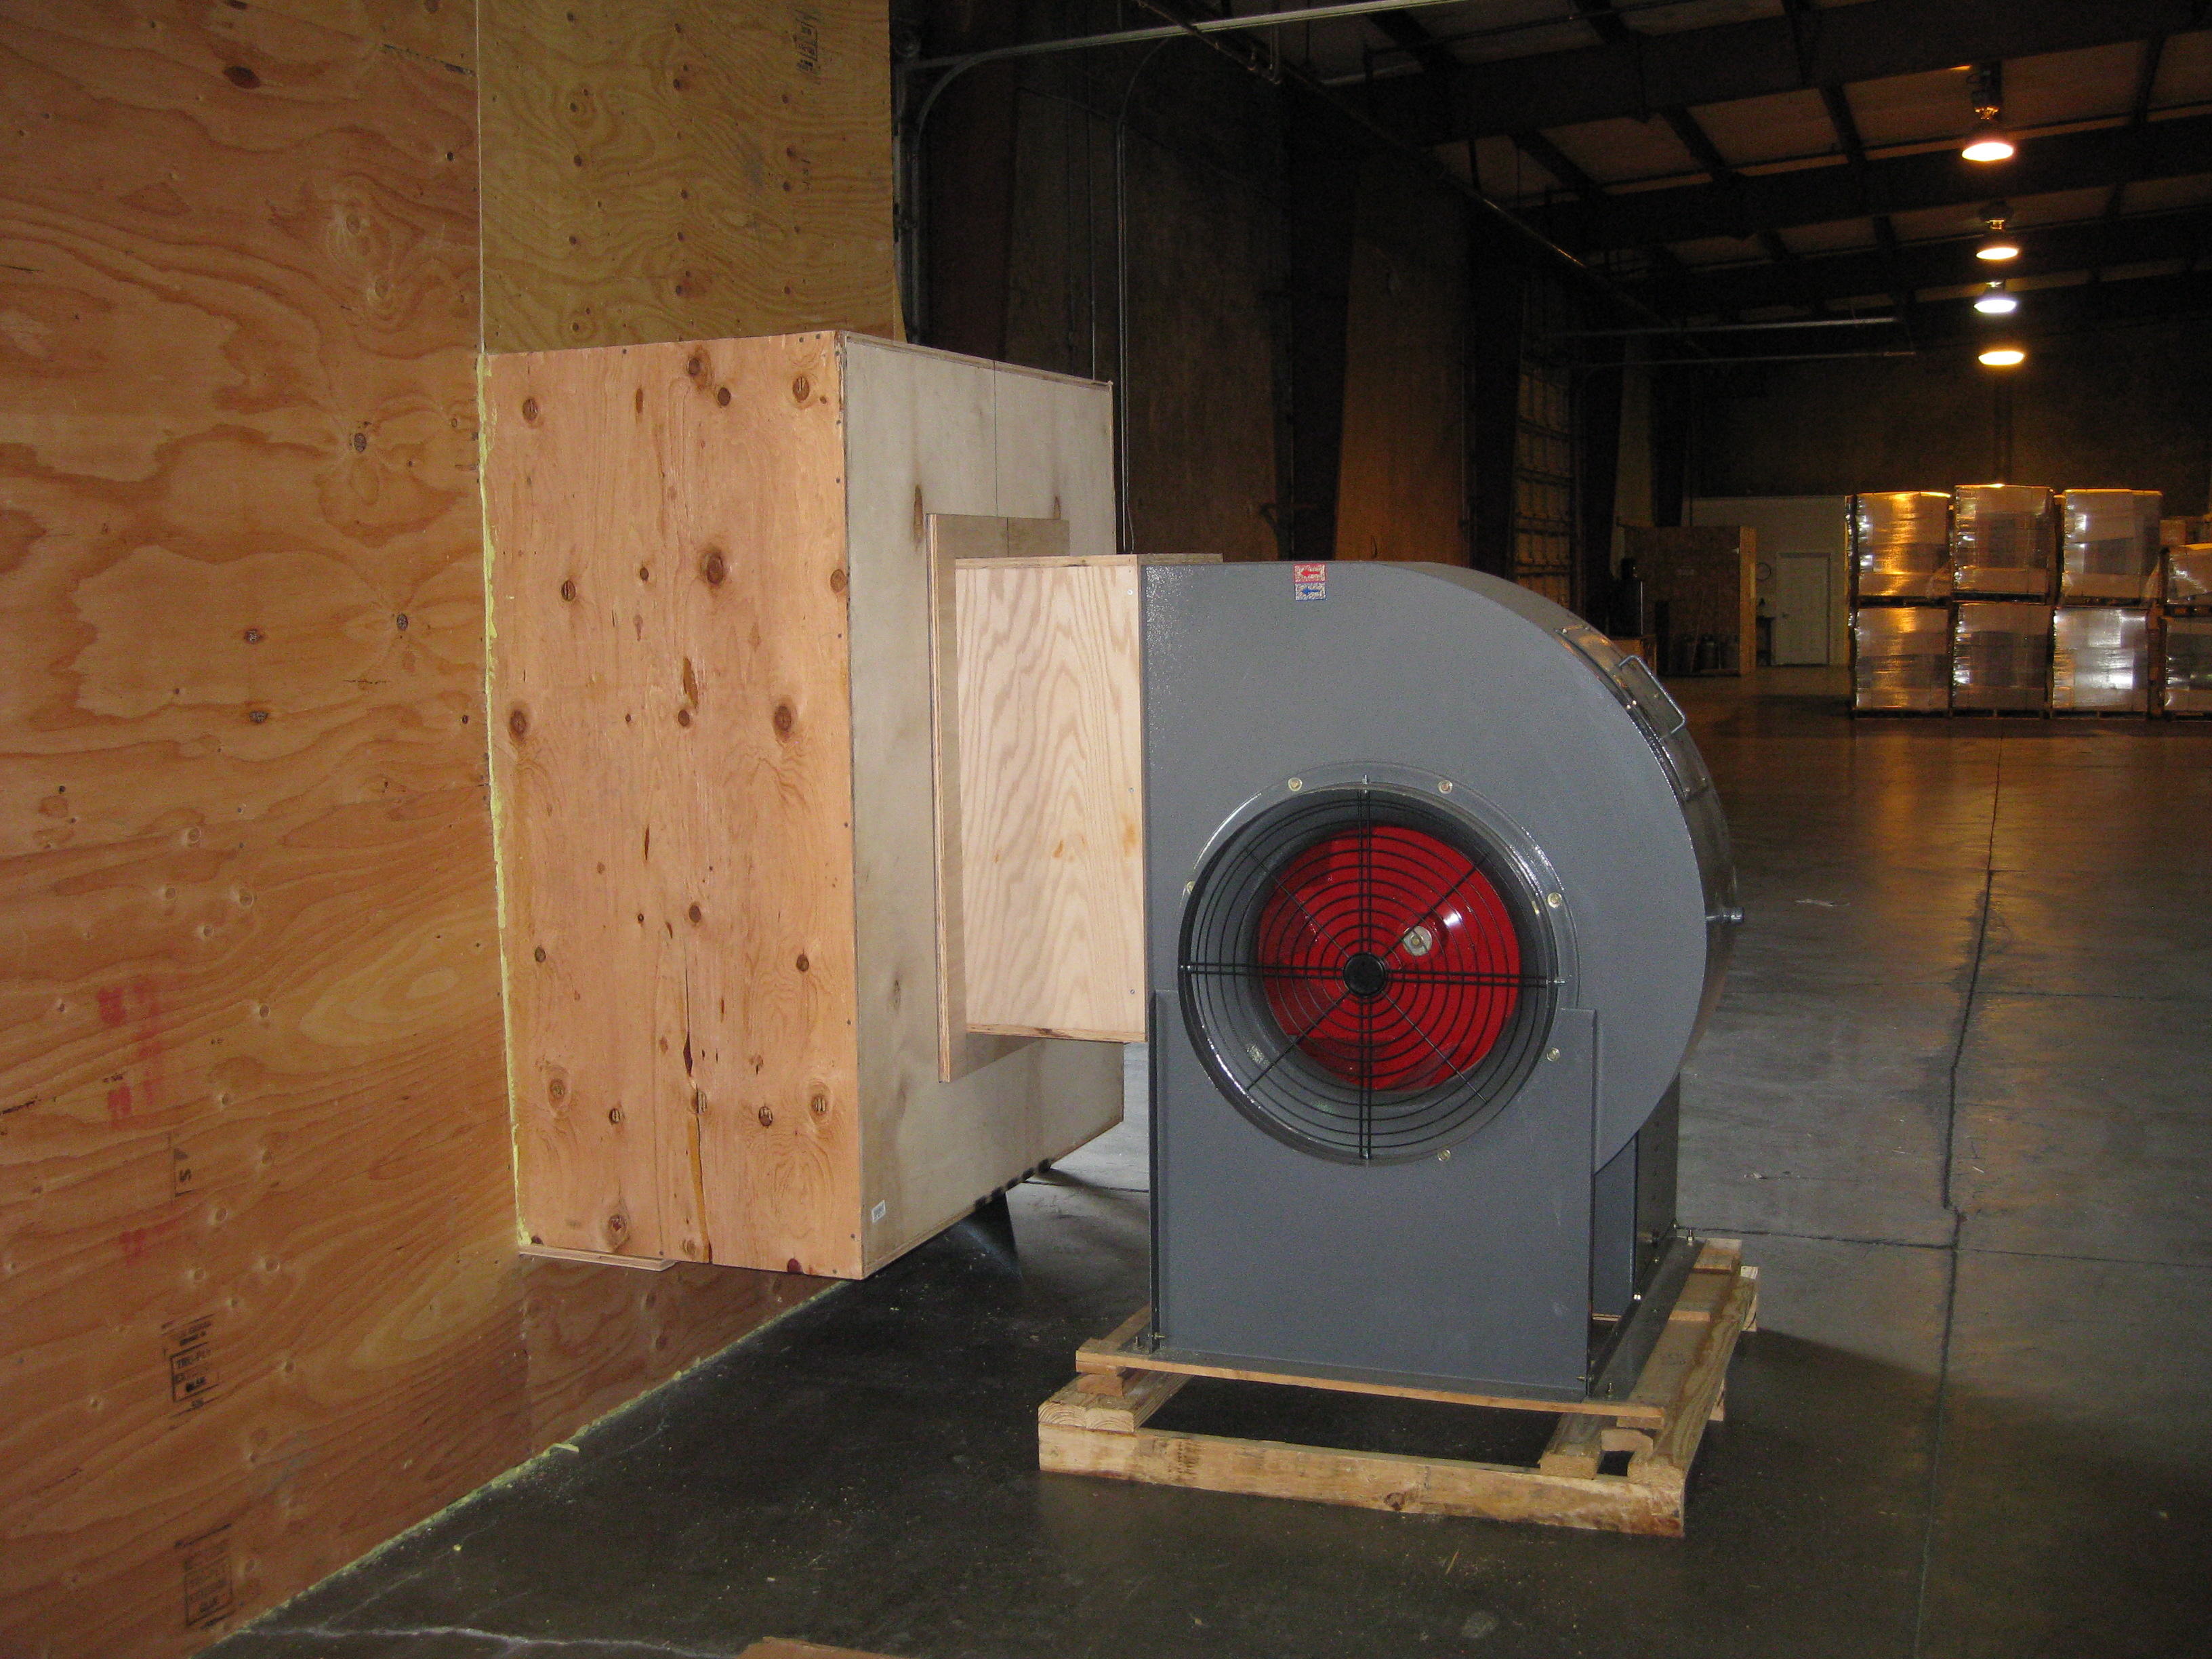
8. I found it easier to first mount the box, then the fan per the drawing specs and then attach the ducting. Very easy that way and no risk of damaging the duct.

QUESTION…..I was thinking that removing the fan screen might cut noise and it’s there ONLY for safety but hey who’s in the attic? Is it needed for fan structural support? I would think not….

Anyway, thanks again for your great customer service. Andy was convincing and accurate on all details… Thanks!

Paul

Aloha… Whole House Fan & Solar Attic Fan Rebates from Hawaii Energy!

We at AirScape are happy to learn of the first whole house fan rebate available in Hawaii! (link) Offered to Hawaii Energy customers, the rebate offers customers $75 back on a whole house fan purchase and $25 back on a solar attic fan purchase. It’s great timing for this type of incentive, because summer is approaching and these efficient natural cooling solutions can help reduce your need for A/C – thus saving you money and sparing the environment.

Get them while they last, though, as the application states it is effective for purchases made from April 1st to June 1st, 2011. We hope for more rebates to roll out soon in Hawaii for all sorts of energy-saving and energy-producing technologies with the recent progress of SB 1520, which would have been left to die if it weren’t for a great showing of public support. Thanks to Hawaii Energy and the Blue Planet Foundation for their efforts to help secure a clean-energy future!