The next logical step for sound reduction is to combine the raised frame concept and add the duct board mentioned in part 1. In the following steps we’ll show you how to do this type of install.
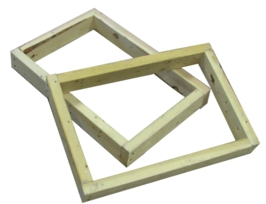
STEP 1: First we created two frames with inside dimensions of 14.5″x22.5″ using 2×4’s.
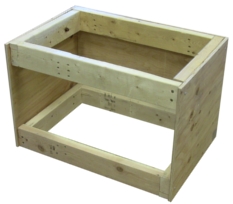
STEP 2: Next we made a box using the two frames from step 1 and 3/8″ plywood. For this example we made our raised frame 17″ tall using (2) 25.5″ x 17″ and (2) 18.25″x17″ pieces of plywood. The vertical clearance of your attic will determine how tall of a box you can create. The picture shown is with one side removed.
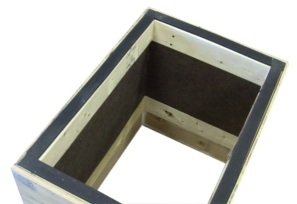
STEP 3: Position the box over the framed opening and secure. Caulk all of the seams and gaps of the newly constructed raised frame. Attach the provided gasket to the upper frame of the box. Line the box between the 2×4 frames with duct board. In this example we used (2) 24″x10.75″ and (2) 16″x10.75″ sections of duct board. We decided to go with a friction fit, but adhesive or screws with flat washers would work as well.
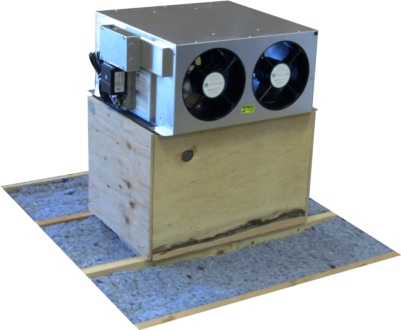
STEP 4: Position the unit on top of the raised frame (1.7 shown). Secure using the provided screws. From the living space caulk all the gaps between the unit and the framing. You can now follow the remaining steps in the installation and operation manual to finish your install.
