Over the years ve’ve also fielded a lot of questions from customers wanting to know if our fans’ dampers can be installed vertically (i.e. in a wall rather than over a ceiling) or at an angle on top of a vaulted ceiling. The short answer to both questions is “yes”, but there are some important limits that need to be considered, which we’d like to go over. Please note: this blog post is limited to our line of AirScape fans—Kohilo models will be covered in a future post.
1.0 WHF
Sound Reduction part 3 – Raised Frame w/ Ductboard
The next logical step for sound reduction is to combine the raised frame concept and add the duct board mentioned in part 1. In the following steps we’ll show you how to do this type of install.
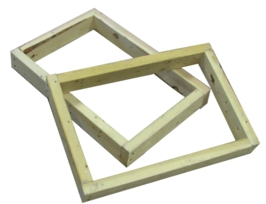
STEP 1: First we created two frames with inside dimensions of 14.5″x22.5″ using 2×4’s.
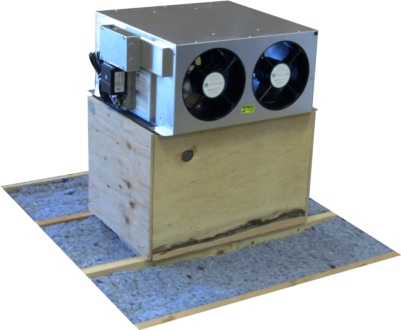
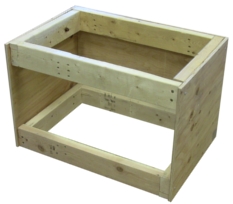
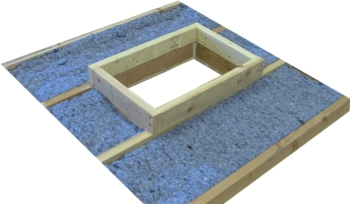
STEP 2: Next we made a box using the two frames from step 1 and 3/8″ plywood. For this example we made our raised frame 17″ tall using (2) 25.5″ x 17″ and (2) 18.25″x17″ pieces of plywood. The vertical clearance of your attic will determine how tall of a box you can create. The picture shown is with one side removed.
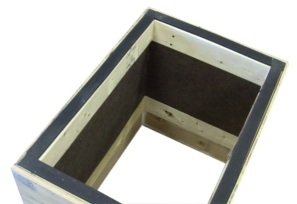
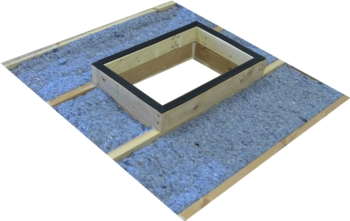
STEP 3: Position the box over the framed opening and secure. Caulk all of the seams and gaps of the newly constructed raised frame. Attach the provided gasket to the upper frame of the box. Line the box between the 2×4 frames with duct board. In this example we used (2) 24″x10.75″ and (2) 16″x10.75″ sections of duct board. We decided to go with a friction fit, but adhesive or screws with flat washers would work as well.
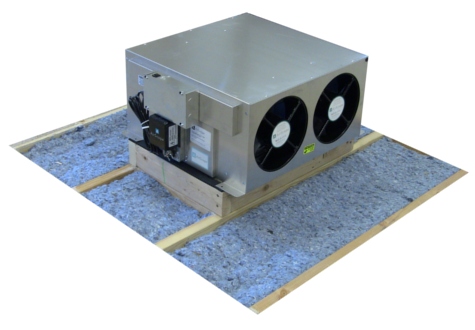
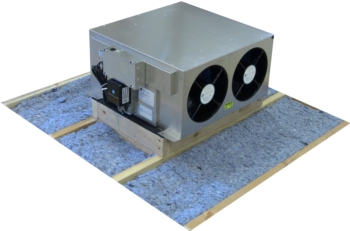
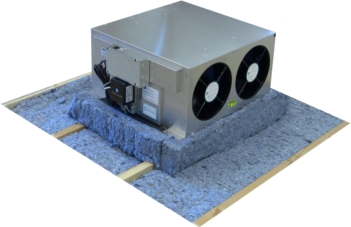
STEP 4: Position the unit on top of the raised frame (1.7 shown). Secure using the provided screws. From the living space caulk all the gaps between the unit and the framing. You can now follow the remaining steps in the installation and operation manual to finish your install.

PART 1 / PART 2 / PART 3
Sound Reduction part 2 – Raised Frame
You may consider a raised frame for your 1.0 or 1.7 WHF for additional sound reduction. The raised frame increases the distance between the fan and living space. Like our ducted models, making the fan slightly more remote from the living space will decrease the overall sound level. The height of the frame will depend on the total vertical clearance of your attic. The construction is very simple and will add a few additional steps to your installation.
STEP 1: We made a raised frame using some scrap 2×4’s. The inside dimension is 14.5”x22.5” matching the framed opening. Secure the raised frame to the attic floor.
STEP 2: Caulk all of the frame gaps and joints. Place the provided foam rubber gasket on top of the raised frame.
STEP 3: Secure the unit to the framing (1.7 WHF shown). From the living space caulk all gaps between the unit and the framing.
STEP 4: It’s not a bad idea to add some insulation around the raised frame. You can now follow the remaining steps in the installation and operation manual to finish your install.
PART 1 / PART 2
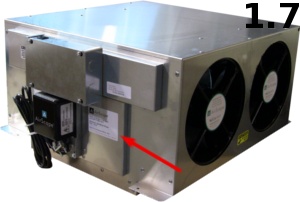
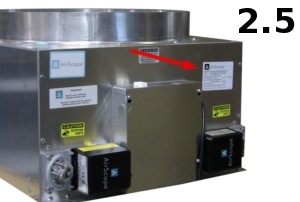
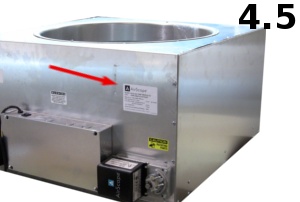
Where to find your AirScape model, version, and serial number
If you decide to add a remote kit after your initial purchase, the AirScape model, version, and serial number will be required in order to give you the correct remote for your unit. This information is also needed by our technical support staff to diagnose or troubleshoot an issue with your WHF.