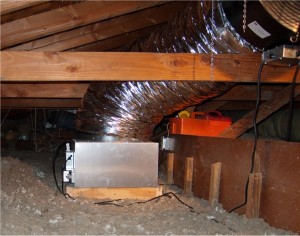
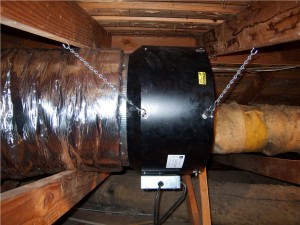
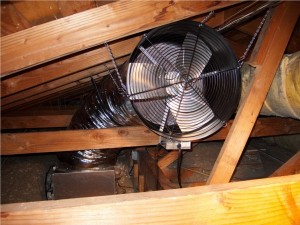
The first challenging install in our series comes from Anker in California. We love this challenging install because of the way he overcame the low attic clearance and the collar beams you can see in the photos (Click photos to enlarge).
Anker’s challenge was to find a suitable damper box location that was free of electrical junction boxes but also did not have a collar beam above it. The next challenge was to find a location for the fan where the ductwork could be installed properly (90 degree bend and fully extended). In this attic the path of the duct and fan would have run into a collar beam. To overcome this Anker made a scale drawing of the attic and also laid out the ductwork on the ground to mock up the installation. His next step was to mount the damper box and then hang the fan. By hanging the fan before attaching the ductwork he was able to determine where it would fit best. The final step was to attach the ductwork to the damper box, feed it over a collar beam and attach it to the fan.
The advice Anker would give anyone doing this installation would be to:
Use a helper when hanging the fan (due to the weight)
Have an electrician wire the outlet
Pre-drill holes for attaching the duct to the fan collar
RELATED POSTS: Unique and Challenging Installs – introduction

