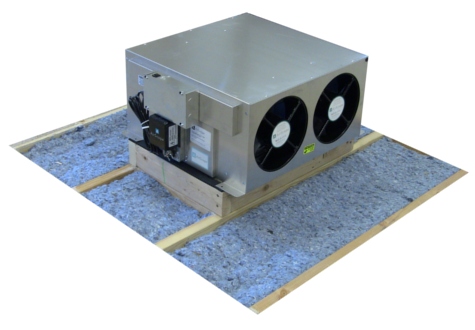
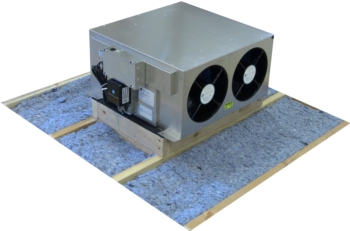
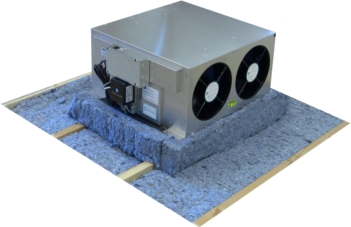
The final step on our journey of sound reduction brings us to ducted AirScape models. As you already know the ducted design of the 2.5 WHF, 2.5e WHF, 4.4e WHF, 4.5 WHF, and the Kohilo 2.8 allow for maximum airflow with a minimum of noise. Improper installation of these models can increase their sound levels. We touched on this subject earlier in the blog “4.5 Installation – Maximize Airflow, Minimize Noise.” There are a few things you need to consider when installing a ducted model.

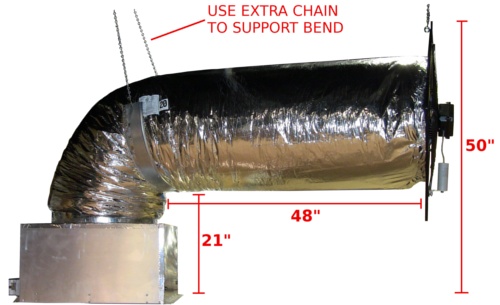
90 DEGREE BEND – The 90 degree bend should be as smooth as possible to maintain the 20″ diameter of the ductwork. Kinking the ductwork will increase the sound level and reduce airflow because the air does not have a smooth path to the fan.
EXTENSION – It is important to extend the ductwork as far as possible away from the damper box. This needs to be done without distorting the 90 degree bend in the ductwork. Extending the ductwork fully moves the sound source (the fan) to the farthest point from the living space.
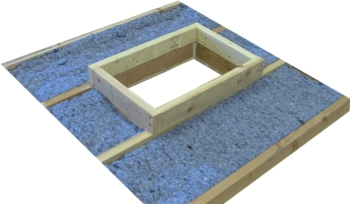
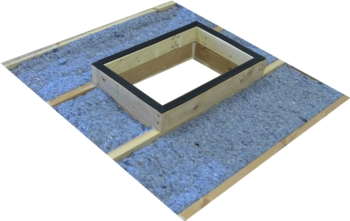
D-RINGS – The 2.5, 2.5e, and 4.4e fans have D-rings which are used to hang the fan from the attic rafters. Only 4 of the 8 D-rings are used in the installation. The unused D-rings should be taped down to avoid excess rattling.