What is the difference between a Whole House Fan and an Attic Ventilator? First of all the Whole House Fan is mounted in the attic, while an Attic Ventilator is mounted on the roof or the gable wall of an attic.
The Whole House Fan pulls in cool outside air when you open the windows at night and exhausts the stale, hot air out. It is a natural source of fresh air that saves energy. Because a WHF operates between 2000 CFM and 6000 CFM they quickly exhaust hot indoor air and bring in the cool outside air.
An Attic Ventilator’s purpose is to get hot air out of your attic and bring cool air in. However, it can be pulling that cool air from your house. The fan can depressurize the attic by exhausting air from it, as well. Replacement air comes in either from the outside intake vents or from openings/cracks into the house. The main reason to cool an attic is if you store things in it or have ductwork or HVAC equipment up there. If this is the case, your HVAC equipment and ductwork would better serve you in the interior of your home somewhere, or the insulation should be moved from the attic floor to the sloped roofing of your house.
As you can see the Whole House Fan is designed to cool your home and save you energy while the Attic Ventilator, while good in theory, can actually pull cool air from your home and in turn cost you more in energy.
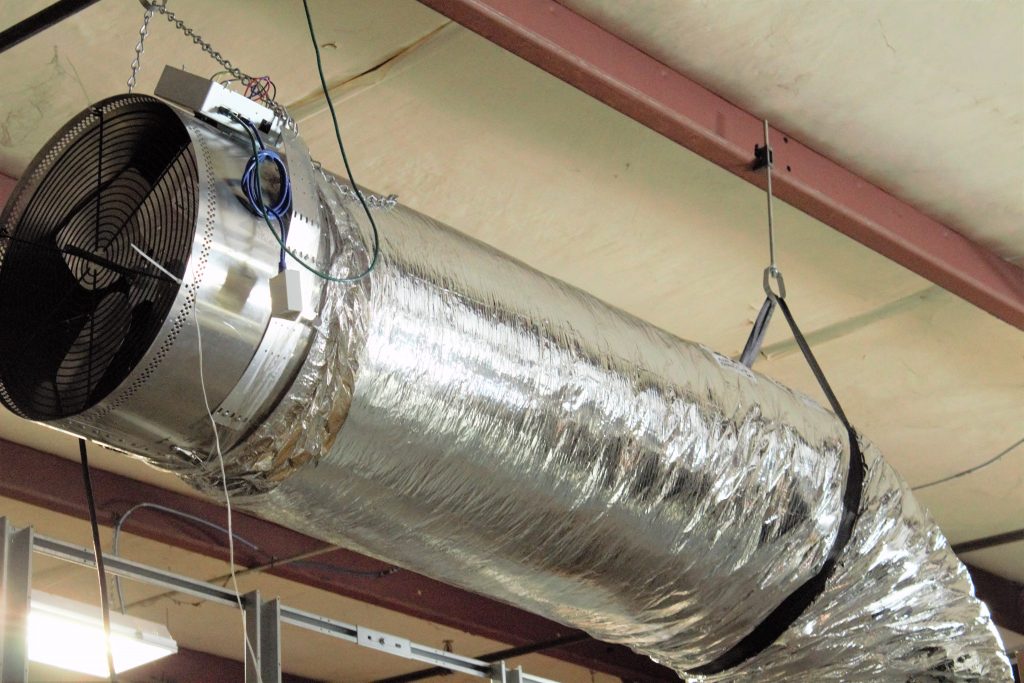
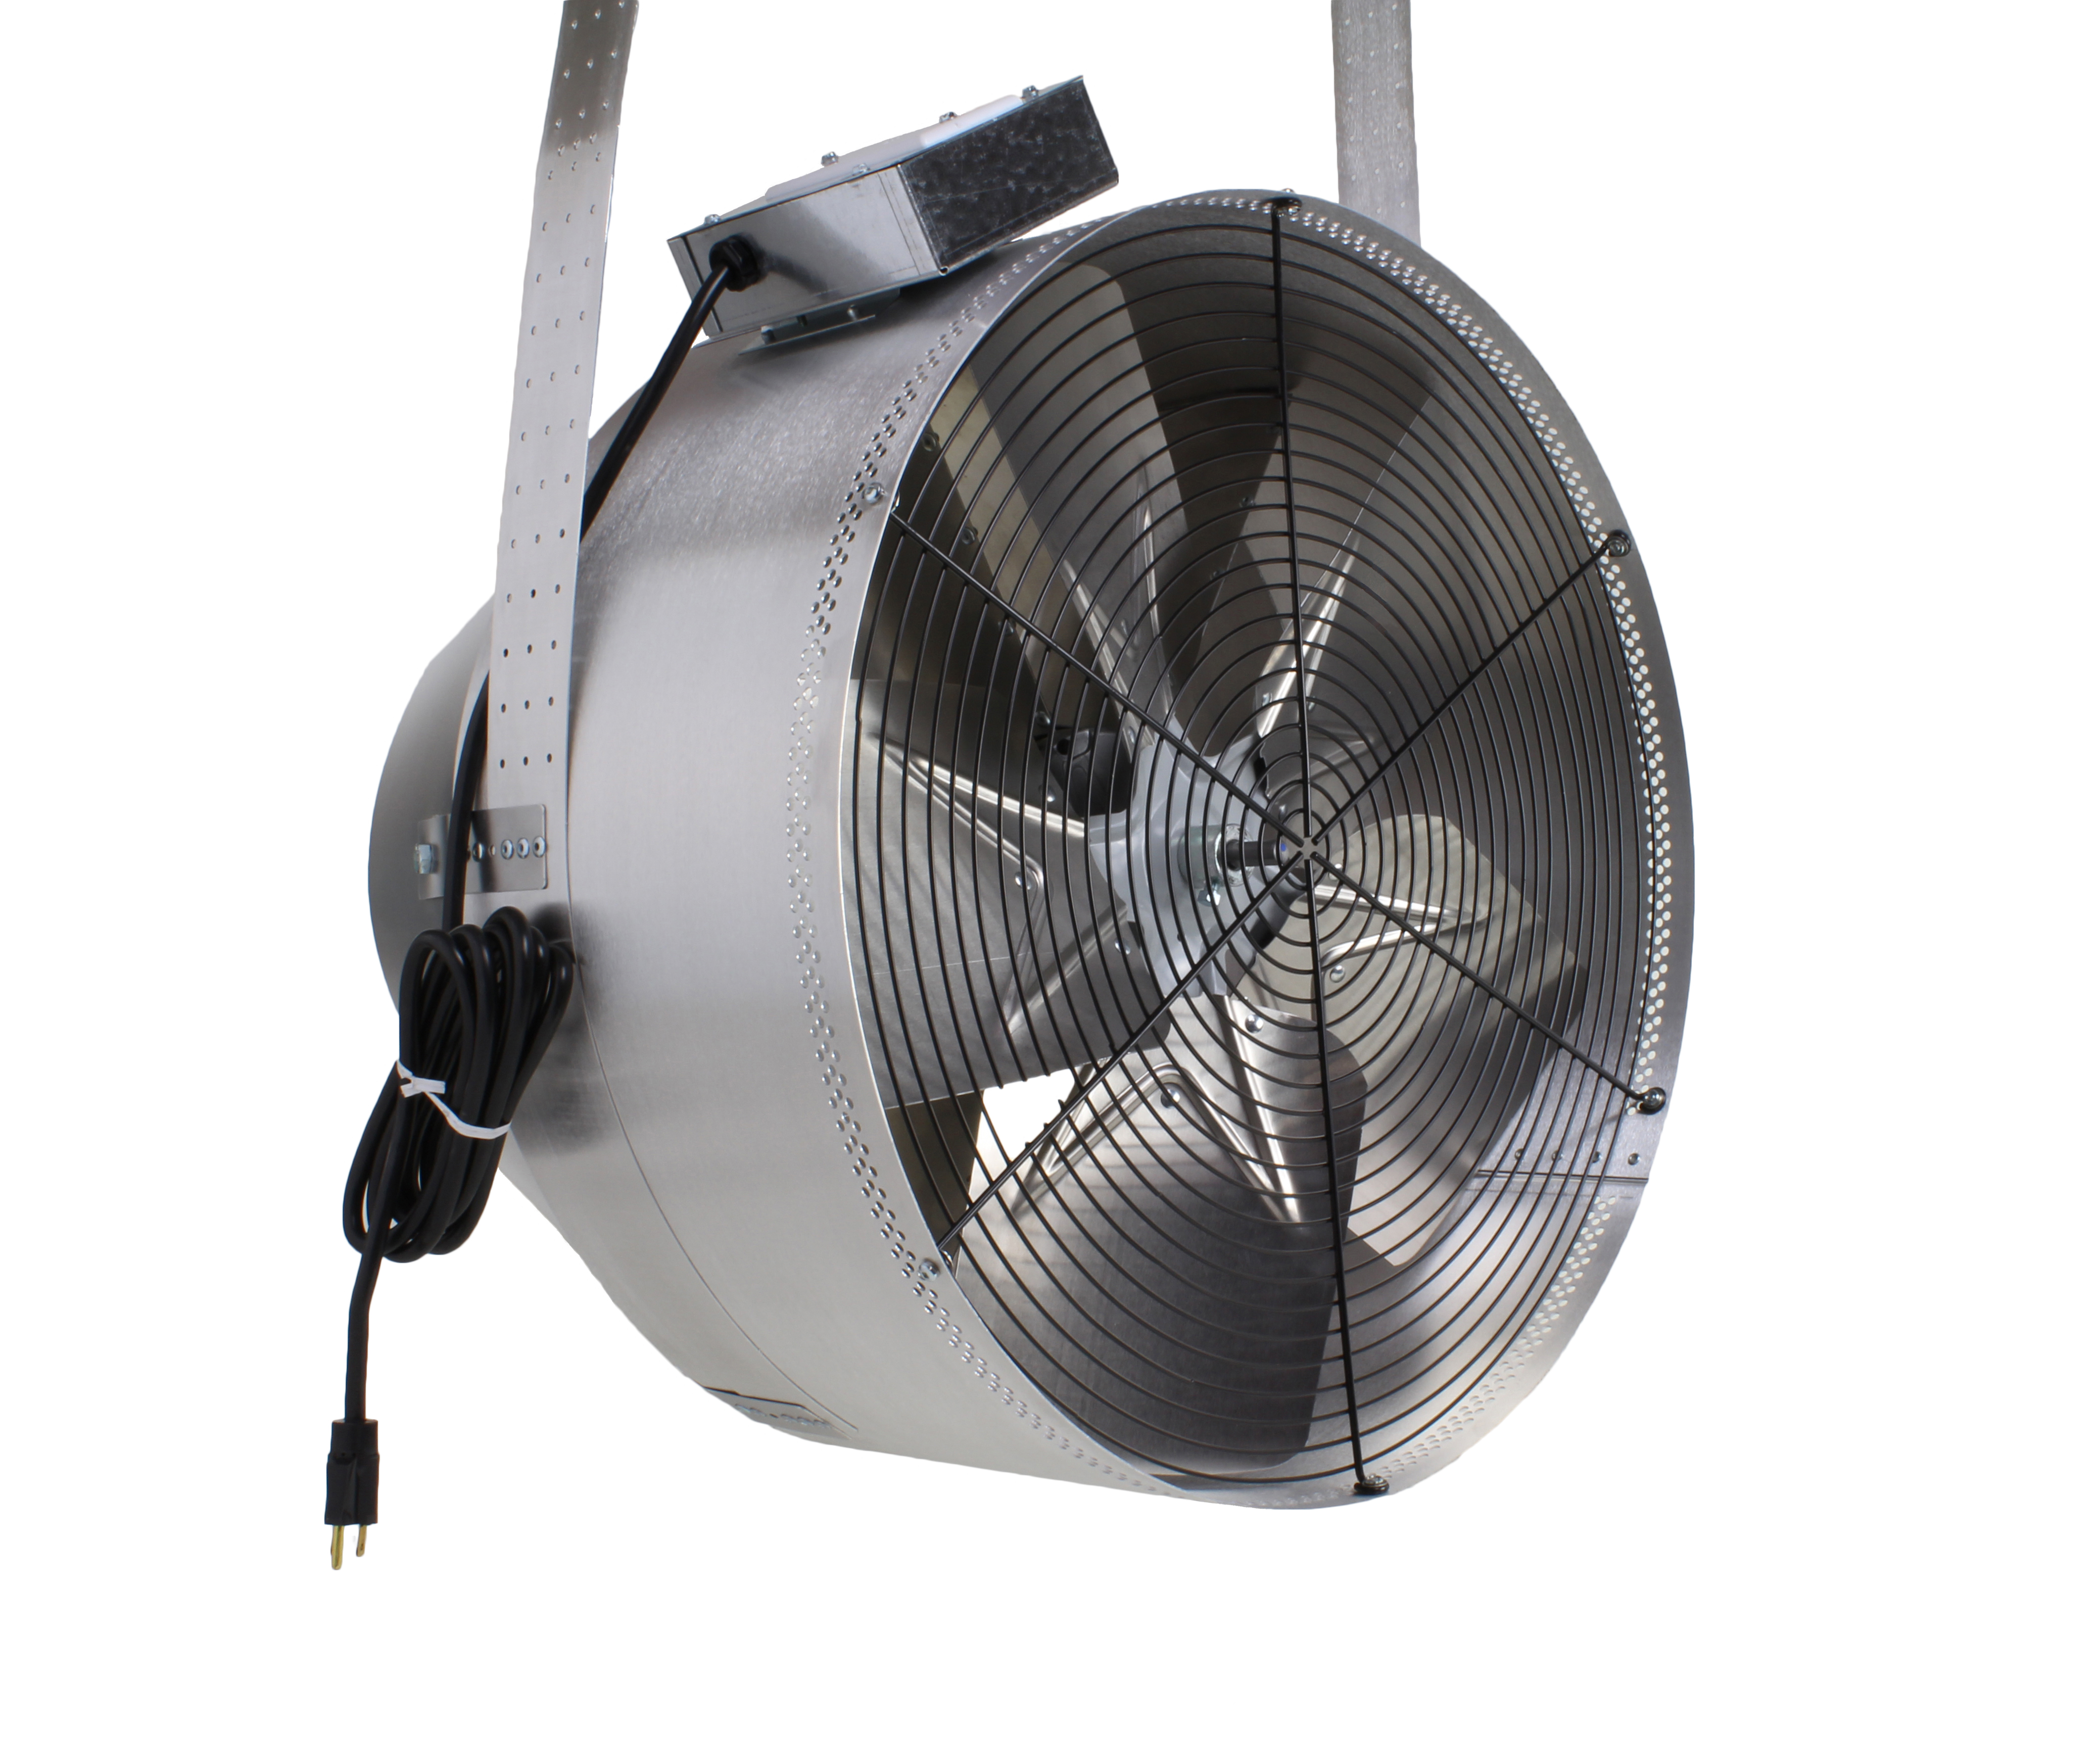
AirScape Whole House Fan 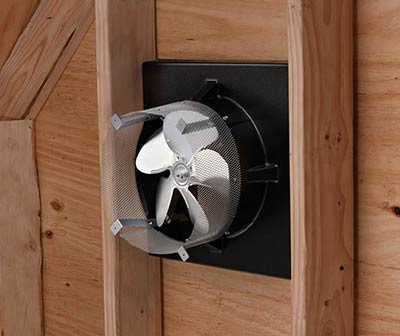
Attic Ventilator
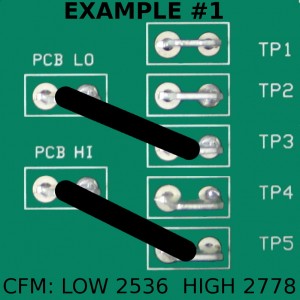
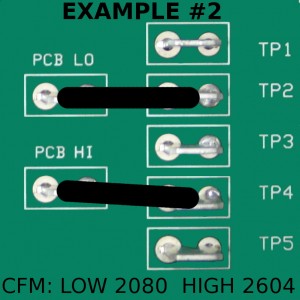
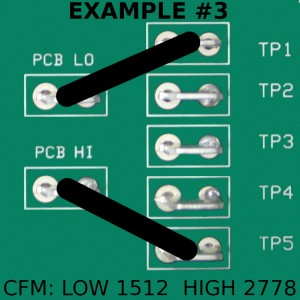
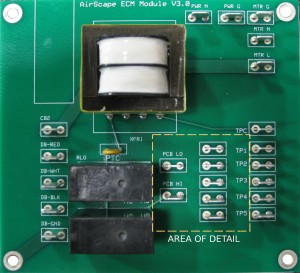 Not only does the AirScape 2.5e have phenomenally low energy use, the user can also select up to 5 different CFM settings. The 2.5e fan motor has inputs which we program at different CFM. From the factory it is set for a low speed of 1512 CFM at 42 watts and a high speed of 2536 CFM at 196 watts. Now let’s say that the factory low speed setting does not provide enough airflow to properly cool your home over night. The fan speed settings can easily be adjusted for more airflow. For example, you could change the low speed from 1512 CFM to 2080 CFM. At the same time you could also adjust the high speed setting so that the fan will move 2604 CFM on high (see example #2). This is as simple as moving the low and high speed wires on the 2.5e fan control board (located on the fan housing) to different connections. The fan speed adjustment is described below:
 OK, first the boring defintion. A CFM stands for cubic foot per minute. This term is used as a measurement of airflow rate for ventilation systems. The cubic foot refers to a (mythical) cube of air 1 foot x 1 foot x 1 foot. CFM becomes a flow rate since we measure how many cubic feet are flowing by per minute.